Shout3D™ 2.0 - 3D Studio MAX Export Tutorial

start
previous
next
Shout3D™ 2.0 - 3D Studio MAX Export Tutorial
|
|
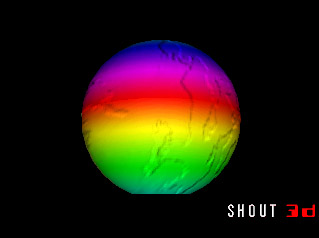
Adding a Bump MapBack in MAX, add a bump map on top of the diffuse color map. Choose sky.gif from the models/images/shared directory. As this is a low contrast image of cloud in a bright sky, you'll need to set a fairly high bump level in MAX to see the effect. Export to ball.s3d and, once again, open that file in a text editor. This time, you'll have two bitmap paths to edit � one in the I got the result in the image on the right with a Experiment with different values by editing, saving the .s3d file, and previewing with the Wizard. |
|
![]()
Copyright� 1999-2000, Eyematic Interfaces, Inc.